Spearphishing Credential Theft
Many users use their corporate credentials on non corporate websites which is very dangerous. If that site gets compromised the adversary now has credentials to a corporate network. Credential Theft Prevention controls which categories of URL’s users are allowed to type their corporate credentials.
In this use case we send the user a targeted email asking the user to reset their corporate credentials due to suspicious behaviour. The hypertext in the email does not match the actual URL. When the user clicks the link they are taken to what looks like a Google sign in page, and anything the adversary captures anything the user types in the form. From there credentials can be abused to access corporate applications.
Step 1 - Deploy the Phishy Infrastructure
Using the following Docker container will allow you to run SMTP, IMAP, and DNS to facilitate these attacks, https://github.com/freshdemo/mailanddns. See the README on how to deploy and run the container.
Step 2 - Deploy Kali/Social Engineering Toolkit
Deploy this in the same environment as the Phishy Infrastrucutre. Azure has a Kali image you can add directly to your Resource Group.
Once your red host is running deploy and configure a local MTA that will send emails through your phishy mailserver, https://github.com/freshdemo/smarthost. The steps to set this up and in the README.
Step 3 - Configure Social Engineering Toolkit
From the Kali host or wherever you've install SET start it up with
setoolkit
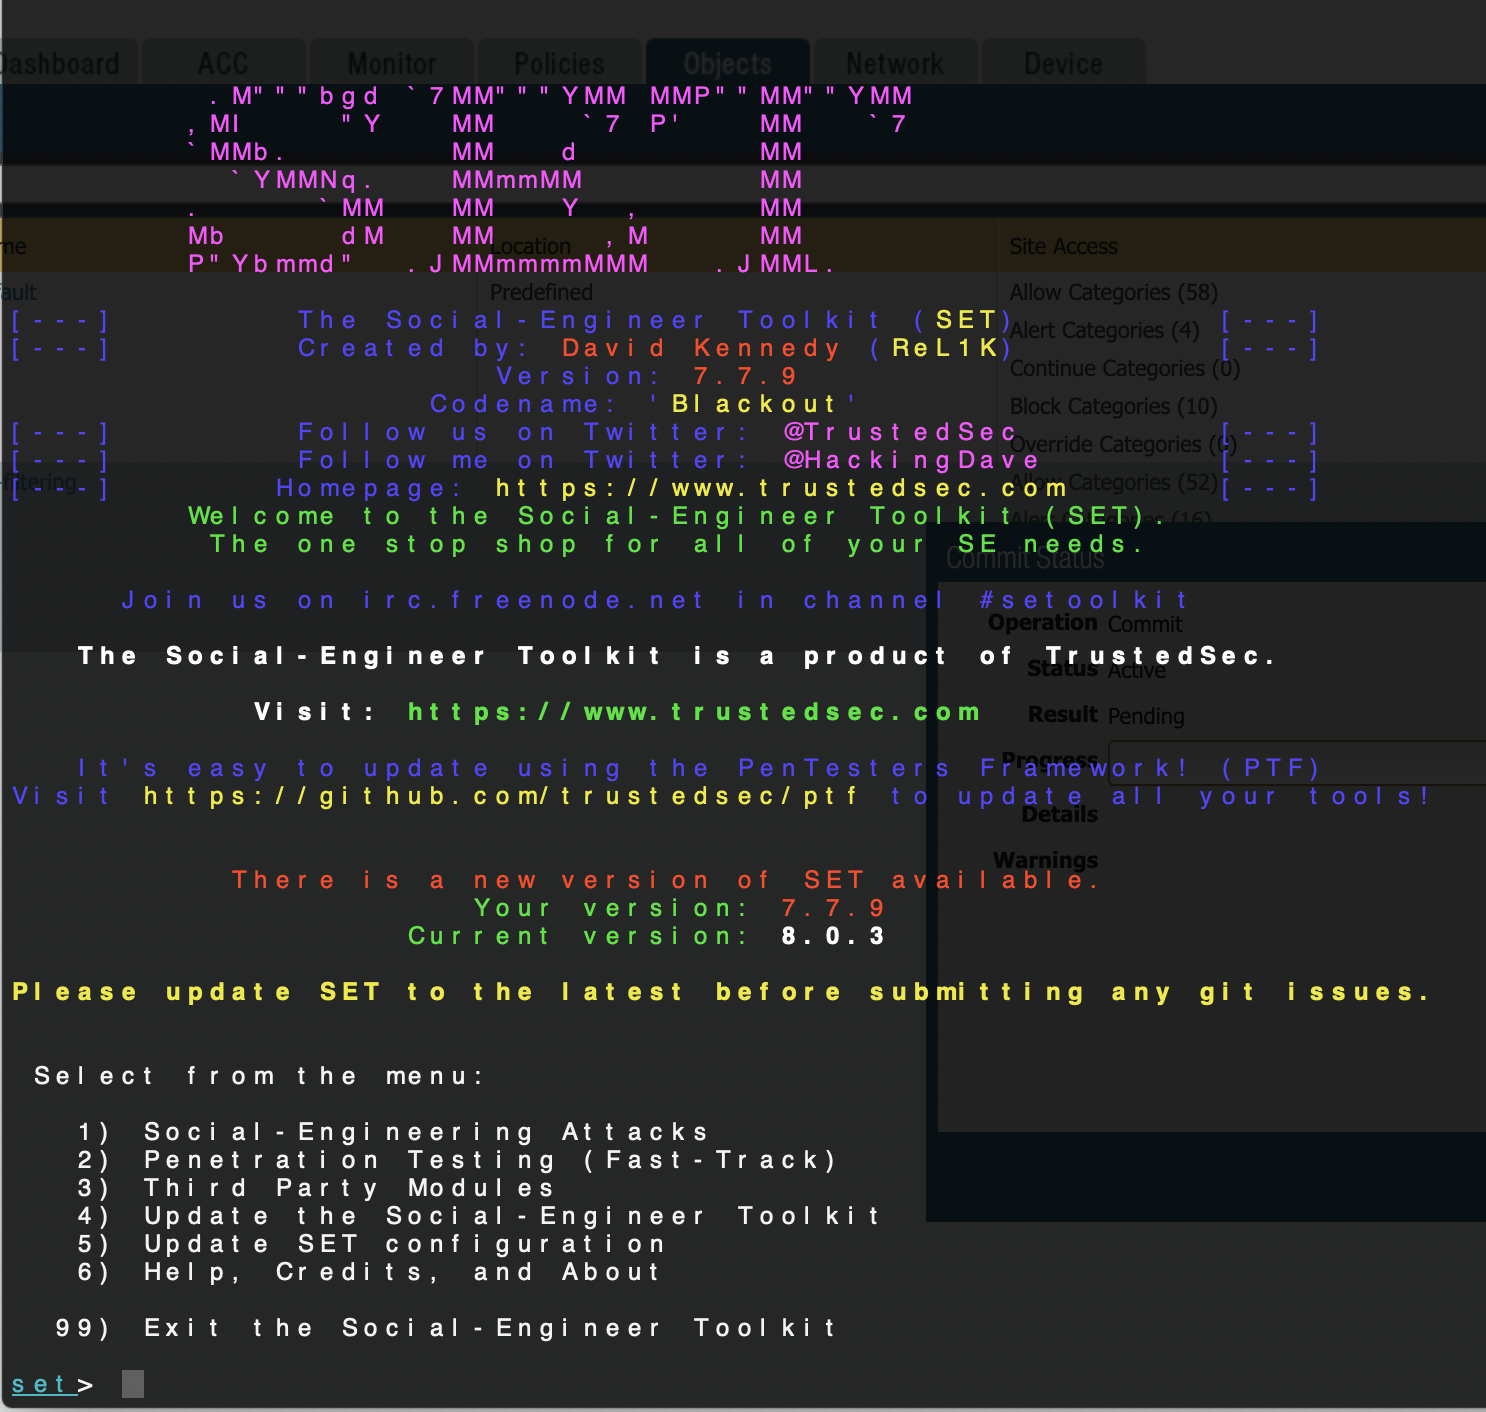
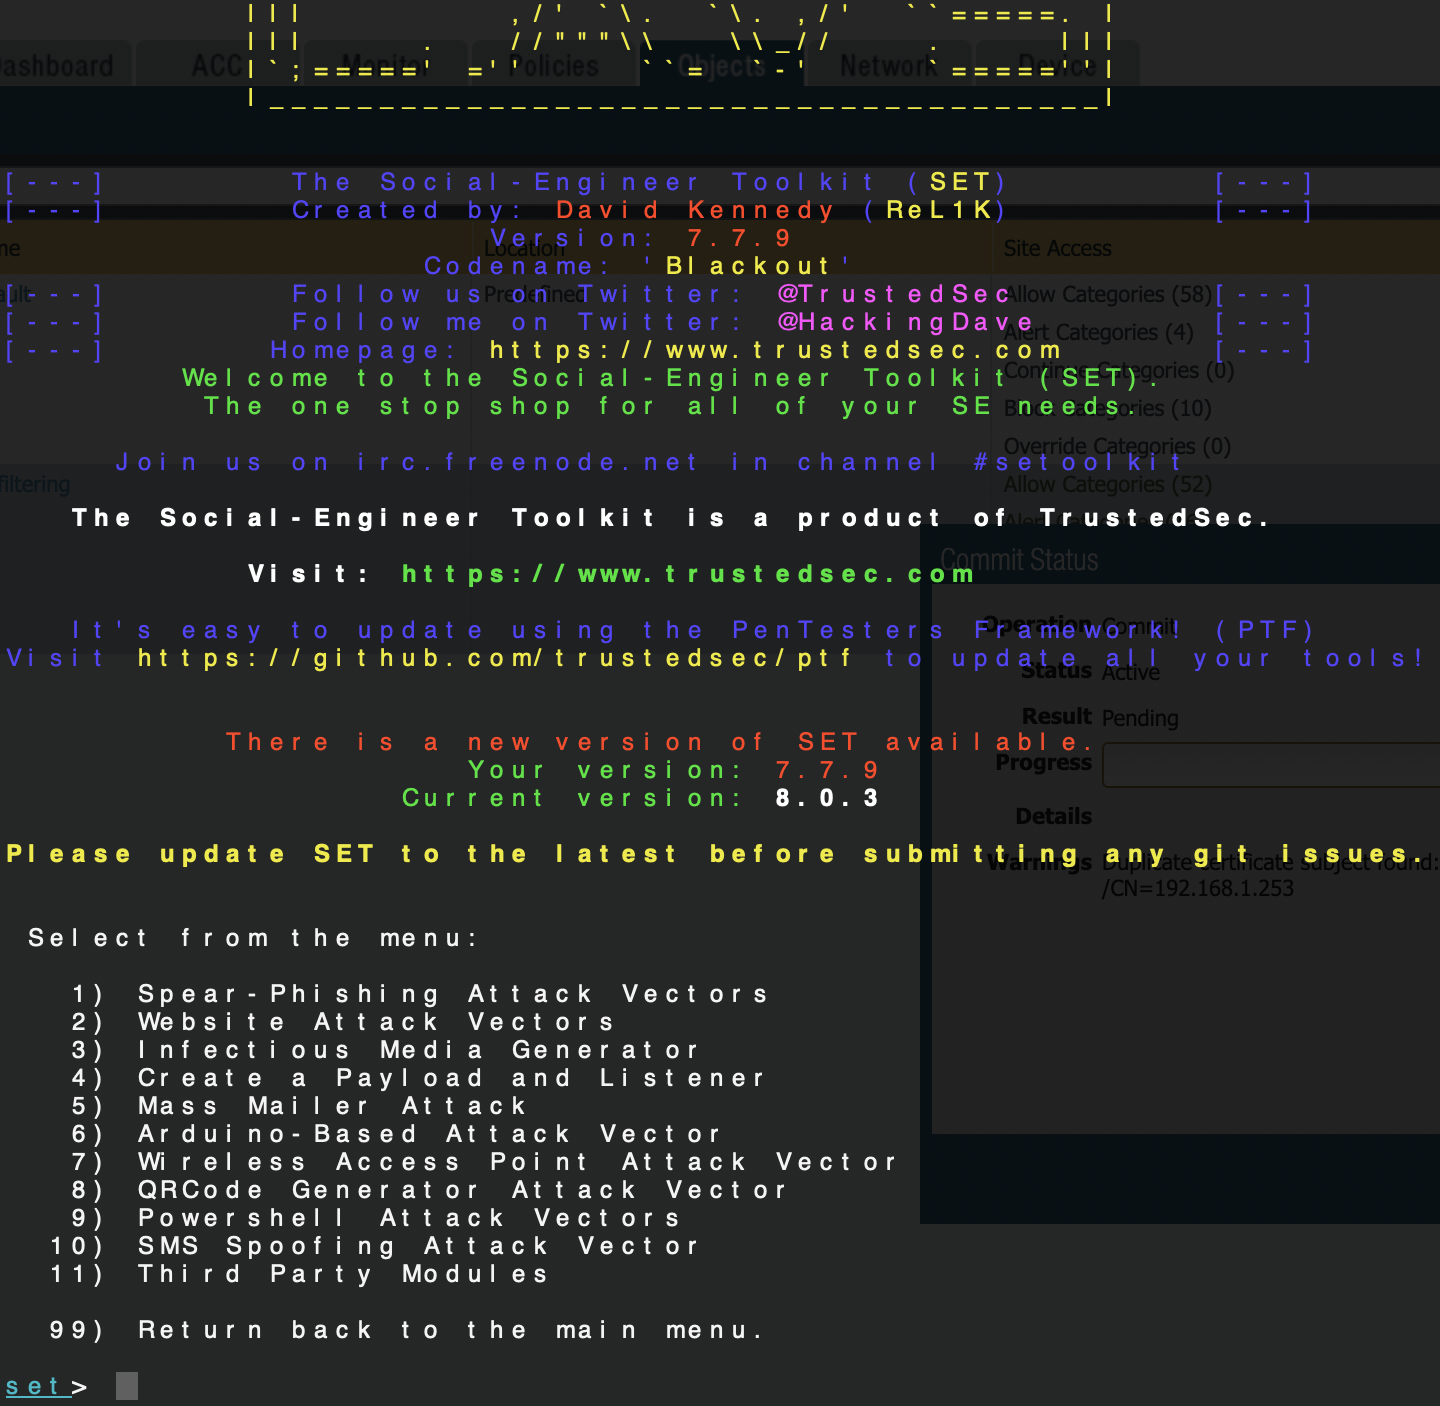
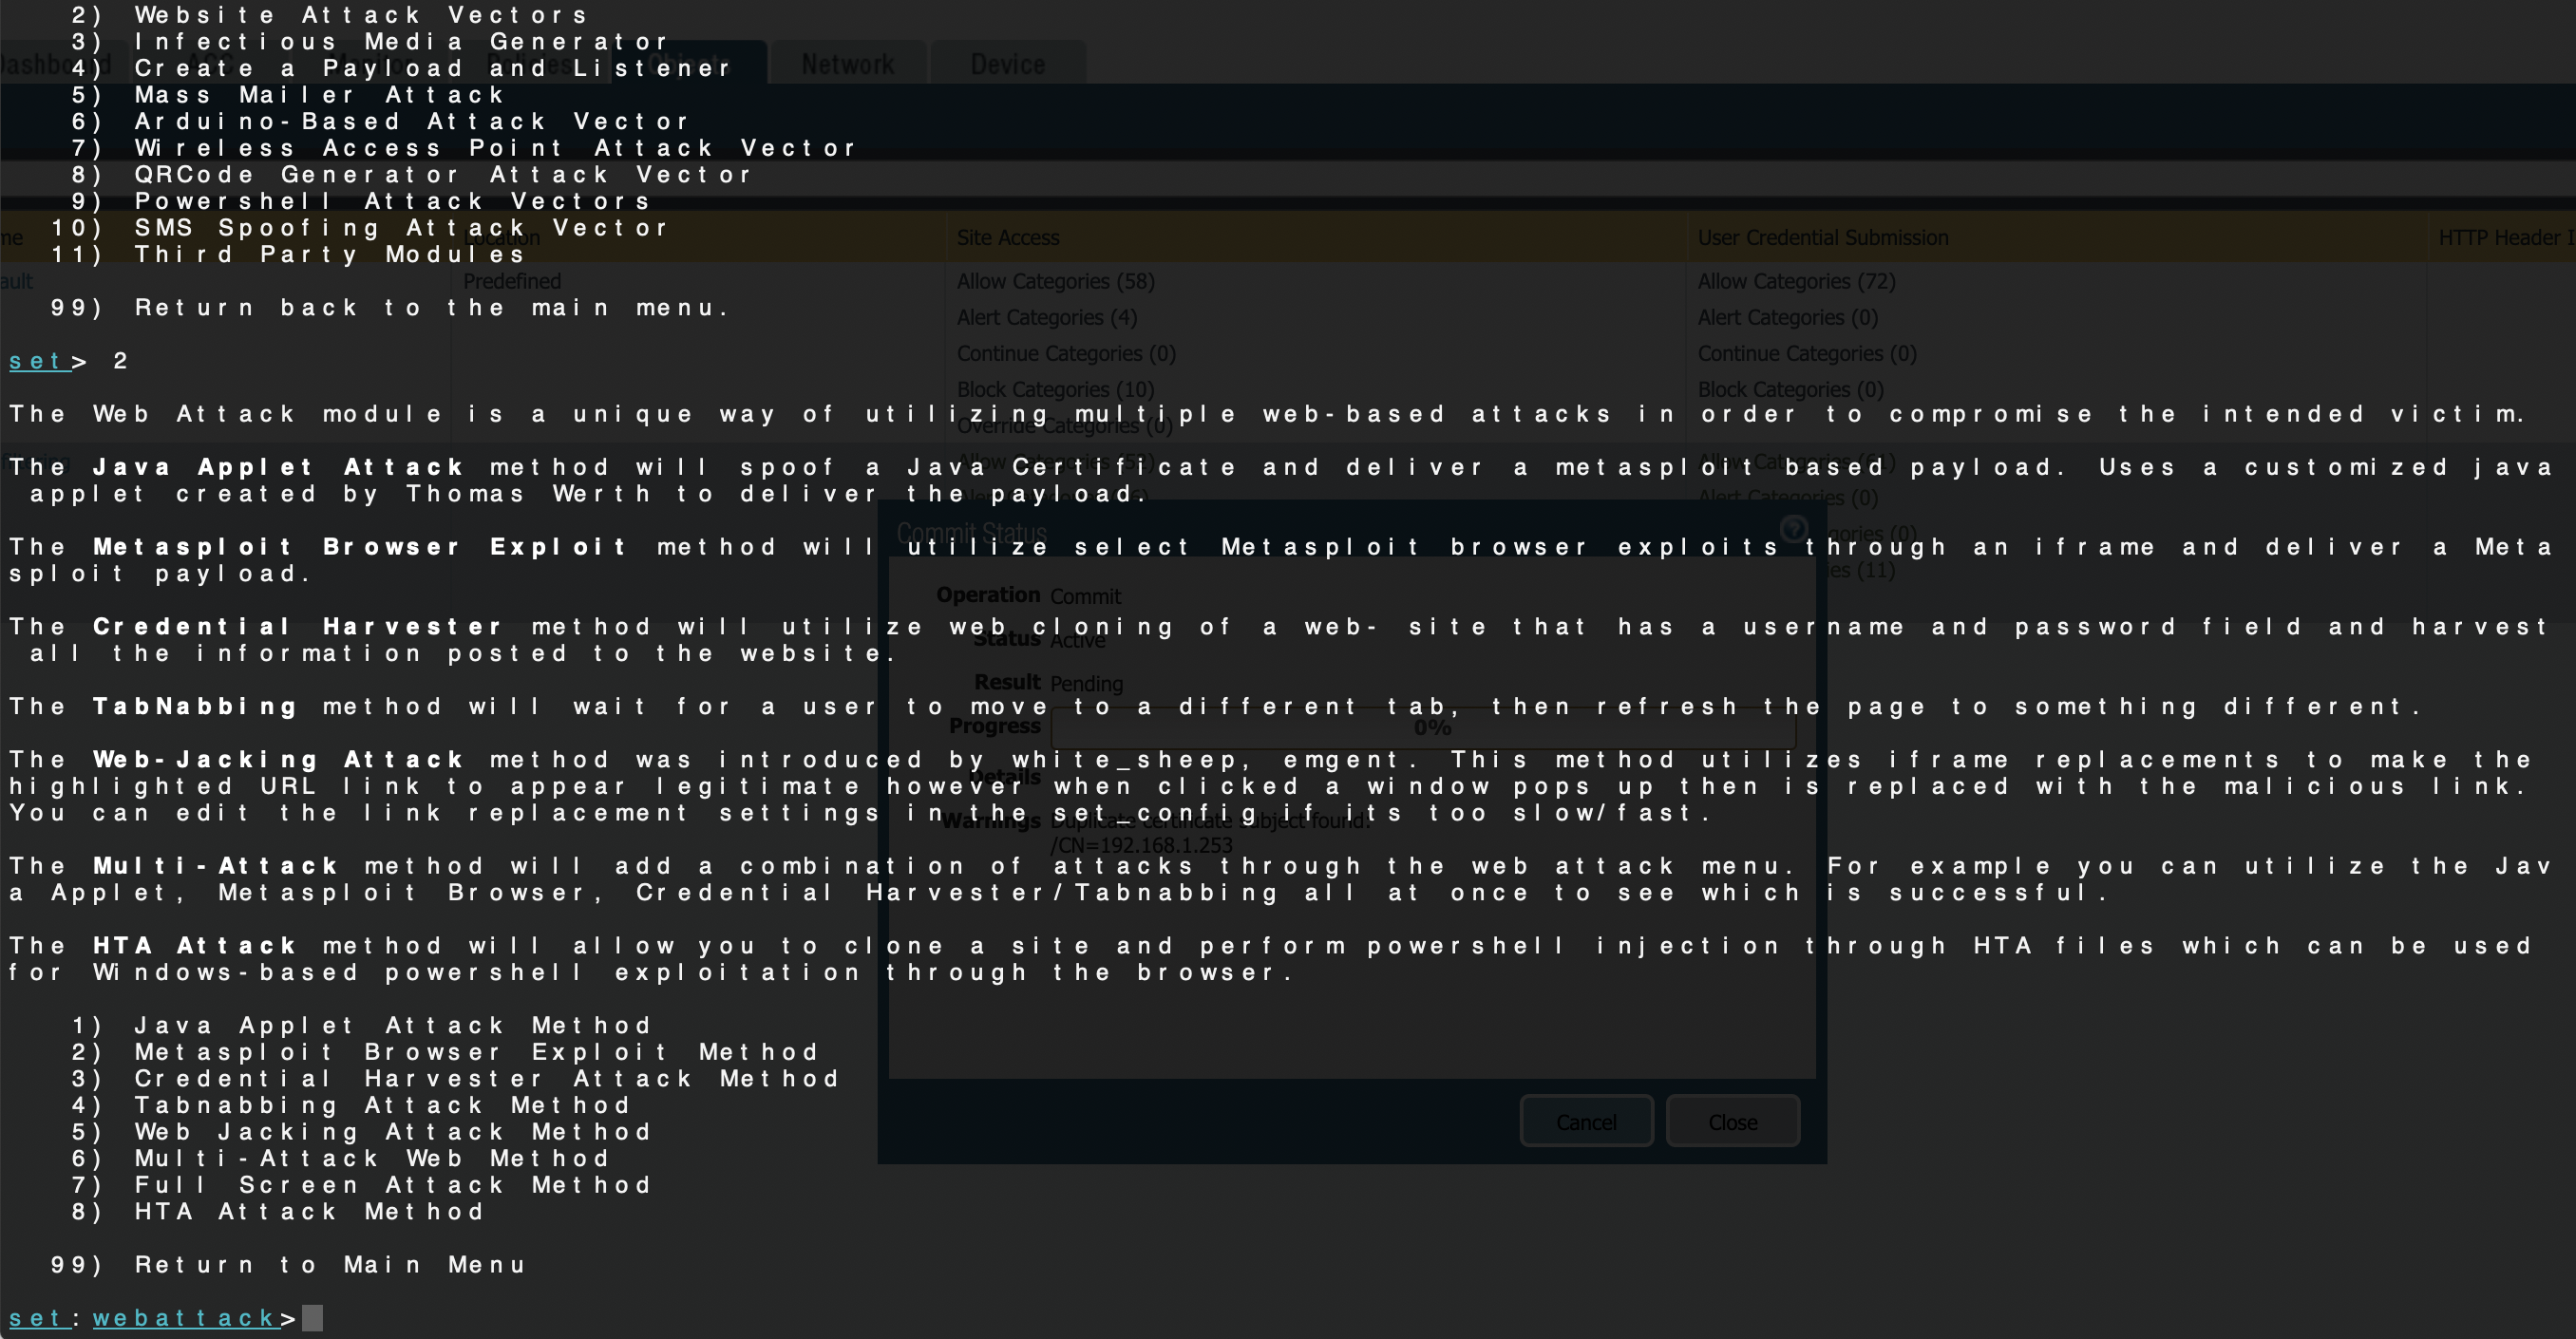
Choose Option 2 - Website Attack Vectors
Choose Option 3 - Credential Harvester Attack Method
Choose Option 1 - Web Templates

Choose Option 2 - Google
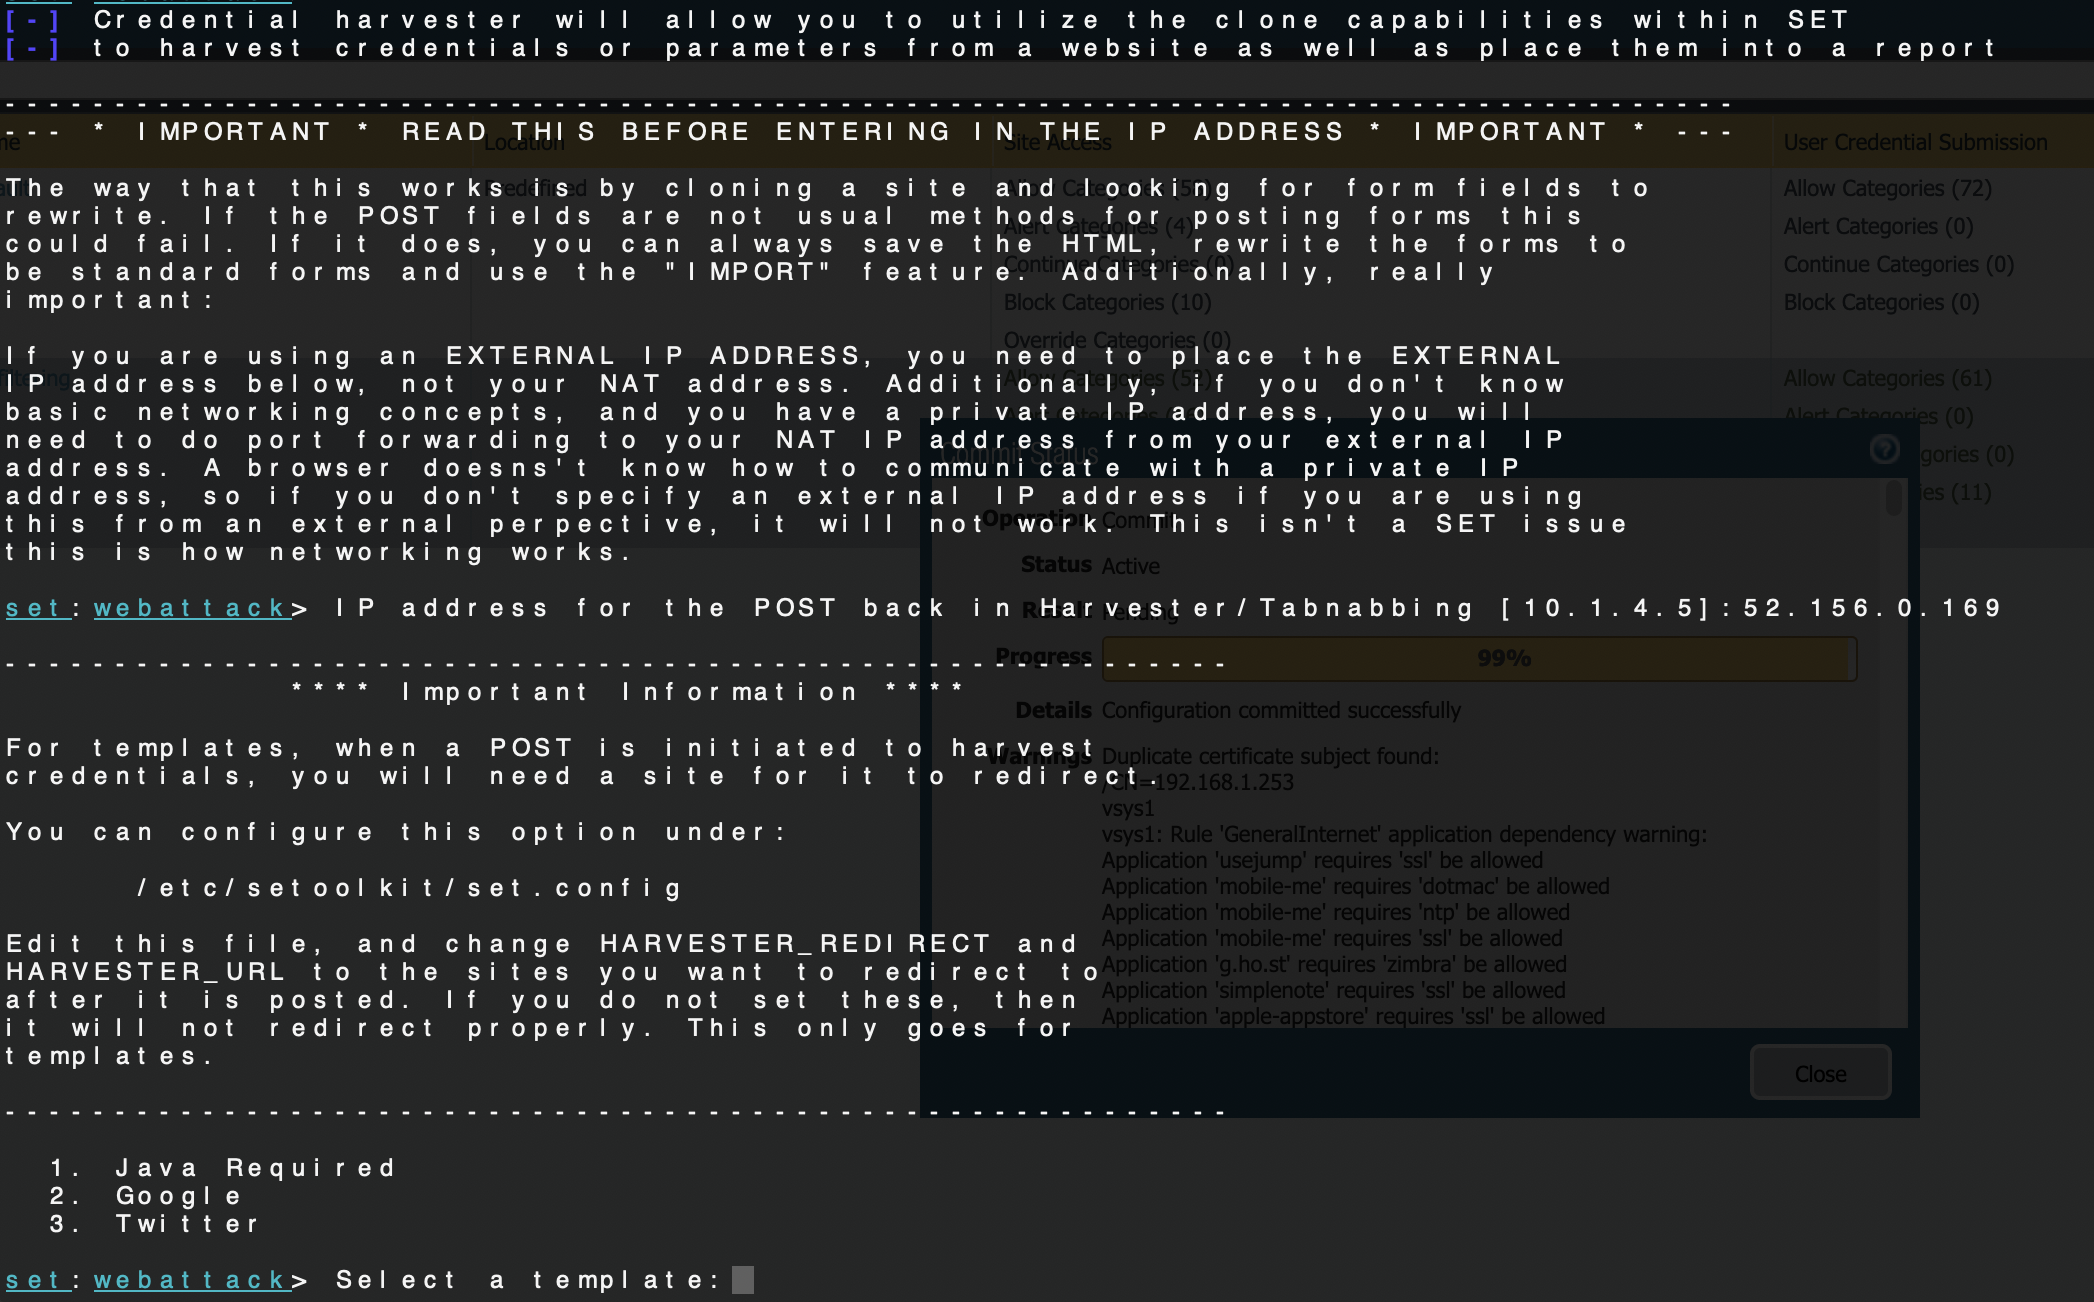
You will be asked for the IP to listen on. This doesn't necessarily have to be a FQDN or public IP, it just needs to be somewhere your target can get to.
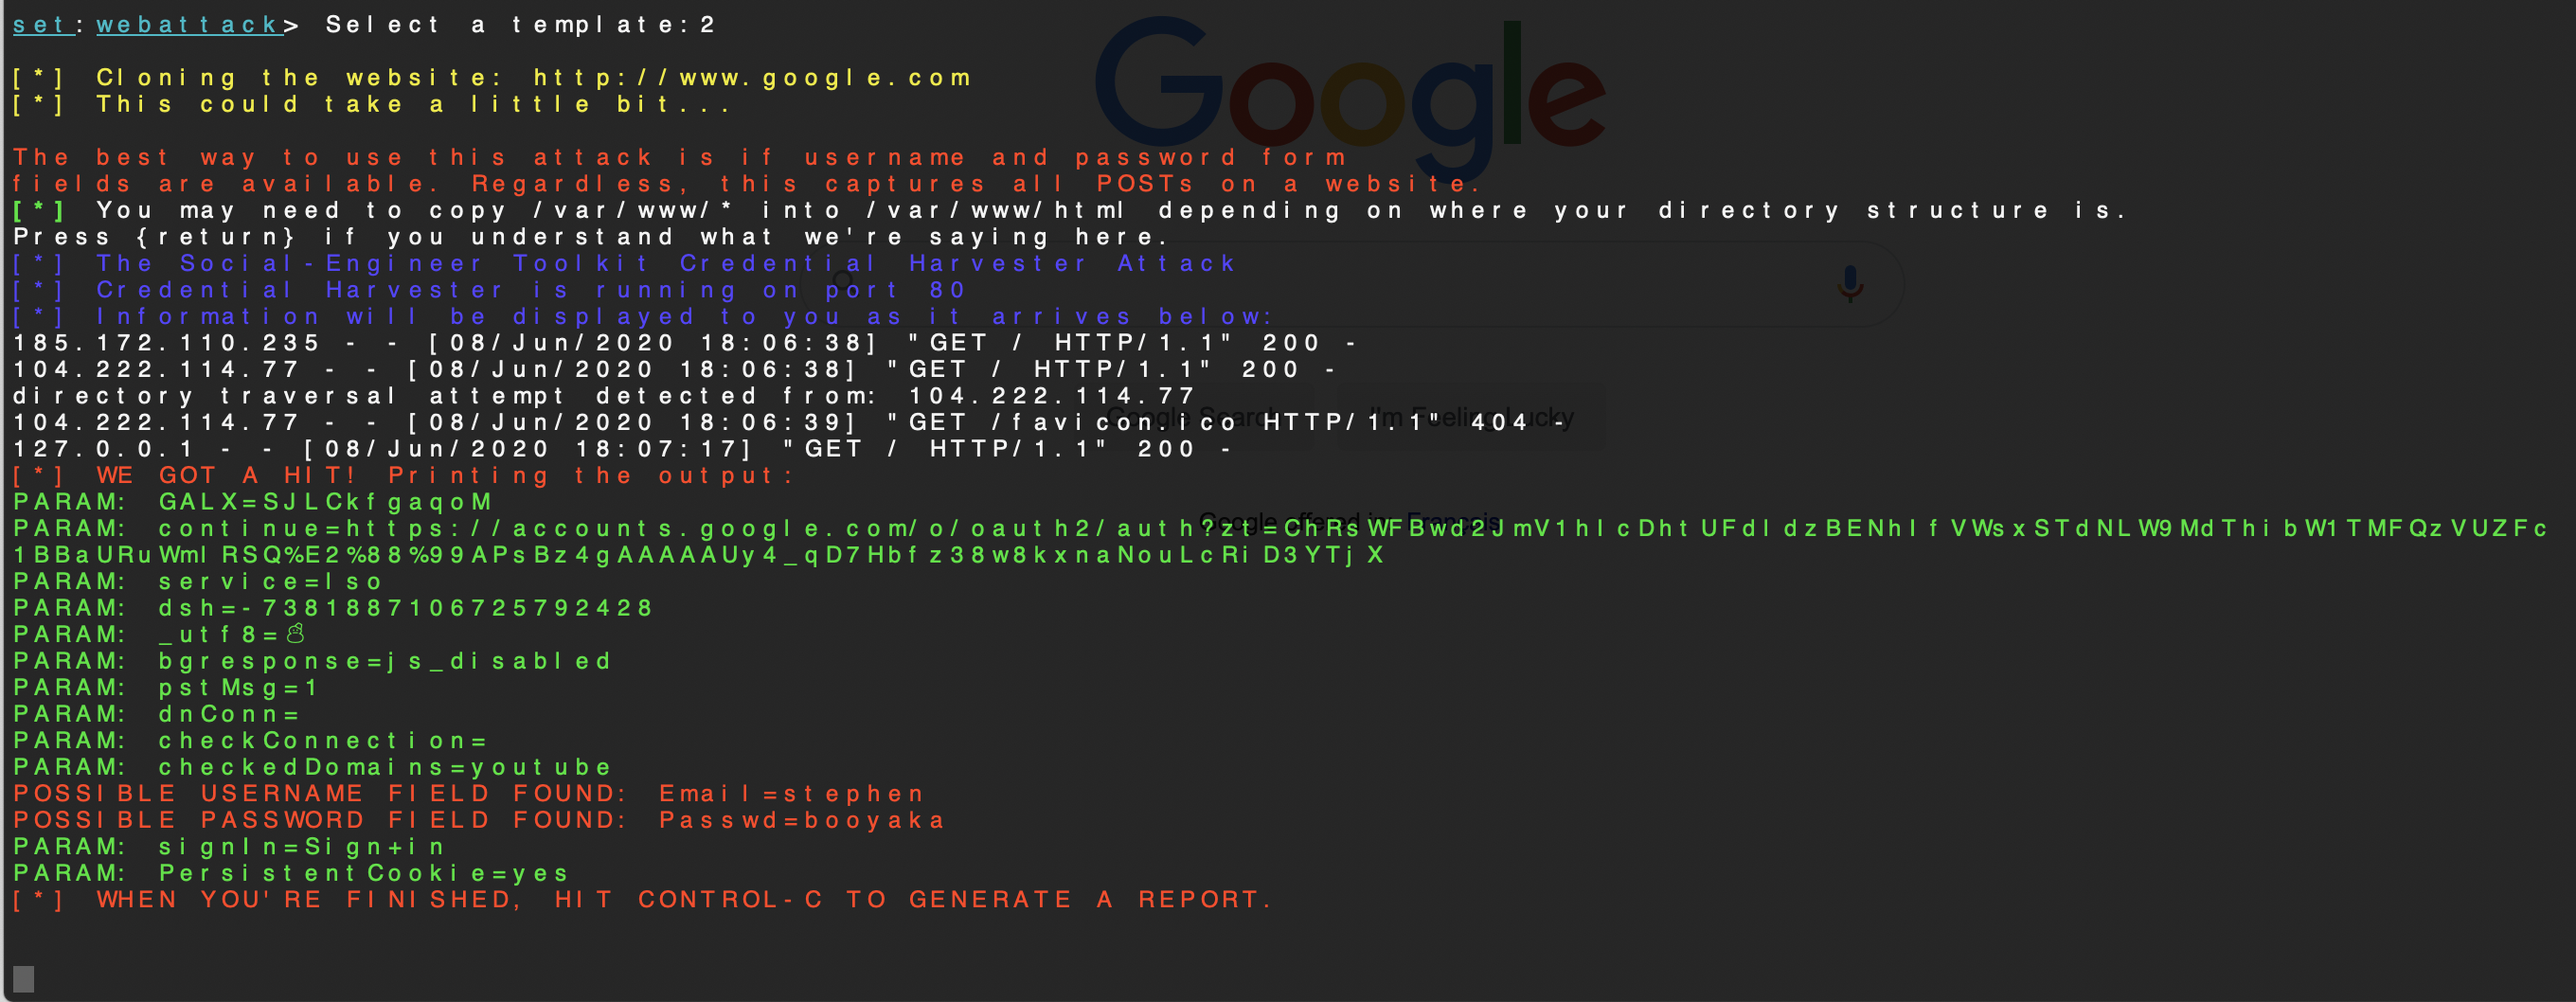
SET will now clone the login form from the source, making it look really good, and listening on TCP port 80 on the IP address provided. You can see that there are connections to the system immediately because this one was on the Internet.

Step 4 - Setup an Email Client
Below you will find the what Thunderbird and Mail look like configured.
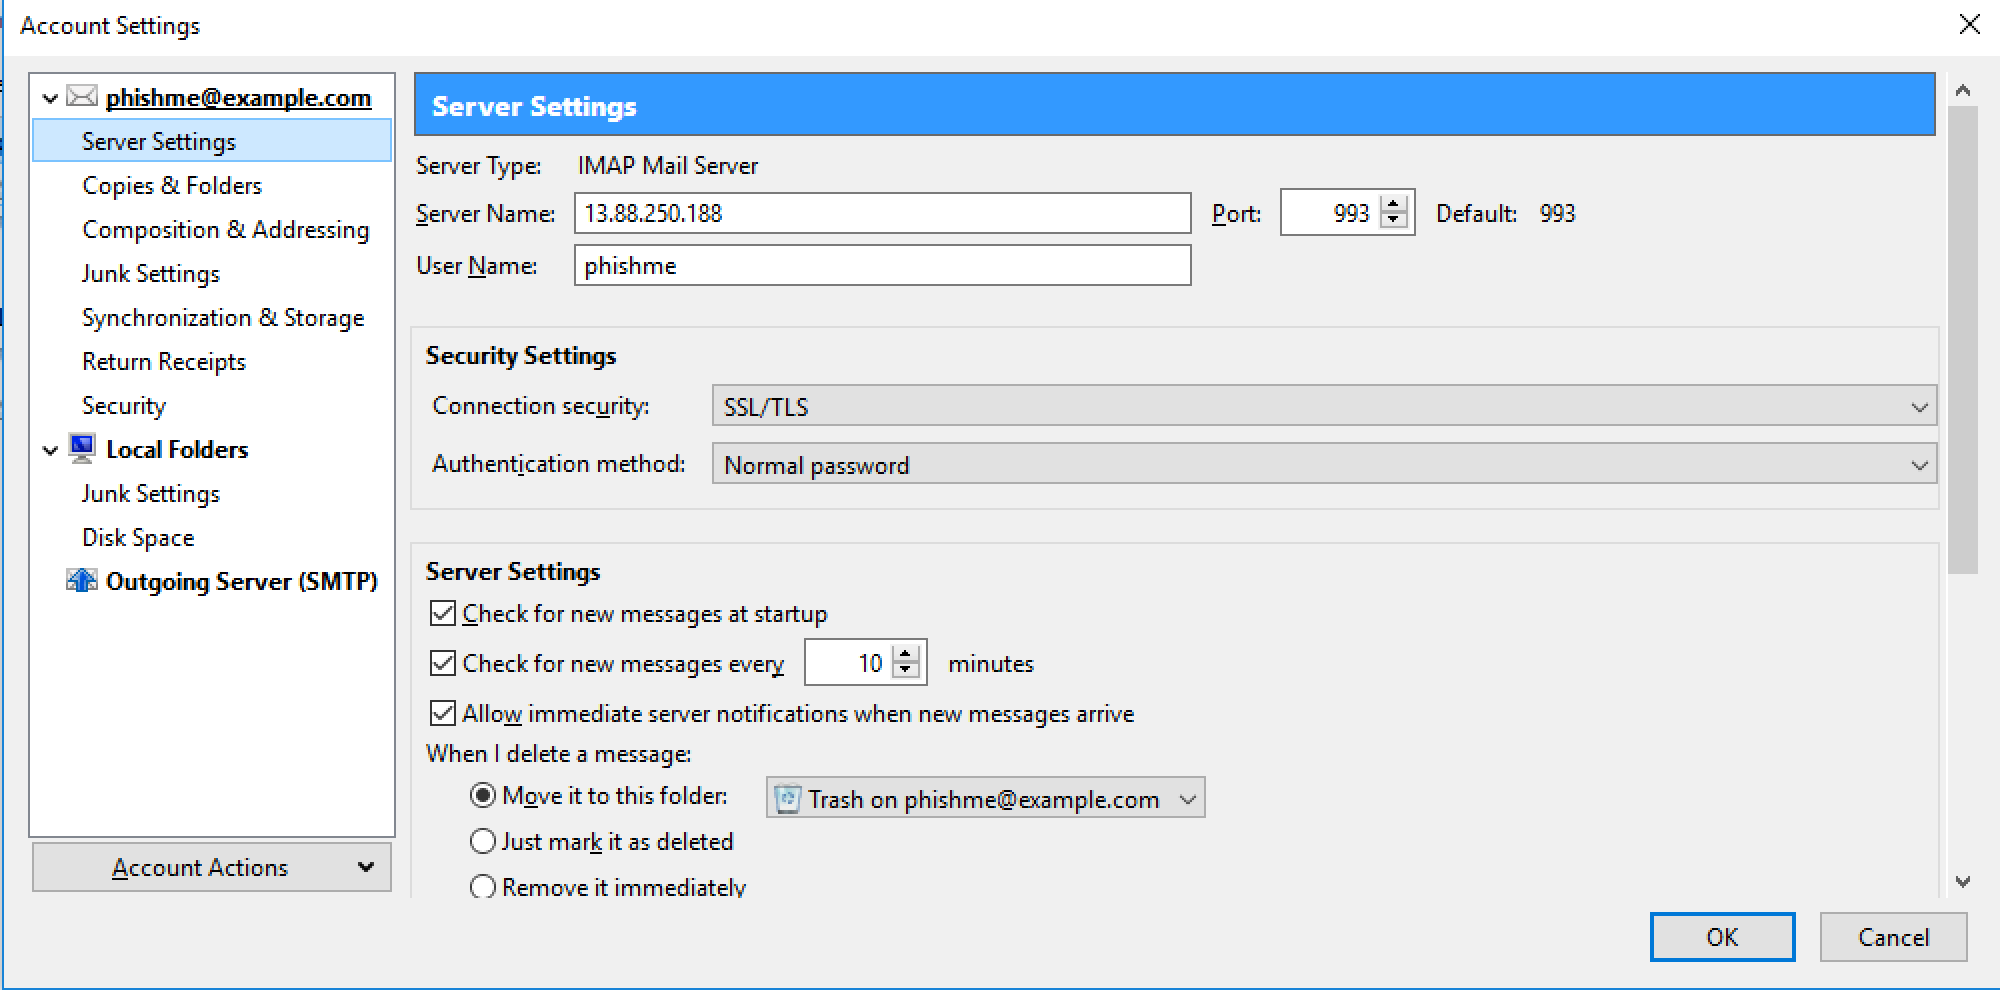 Thunderbird Configured
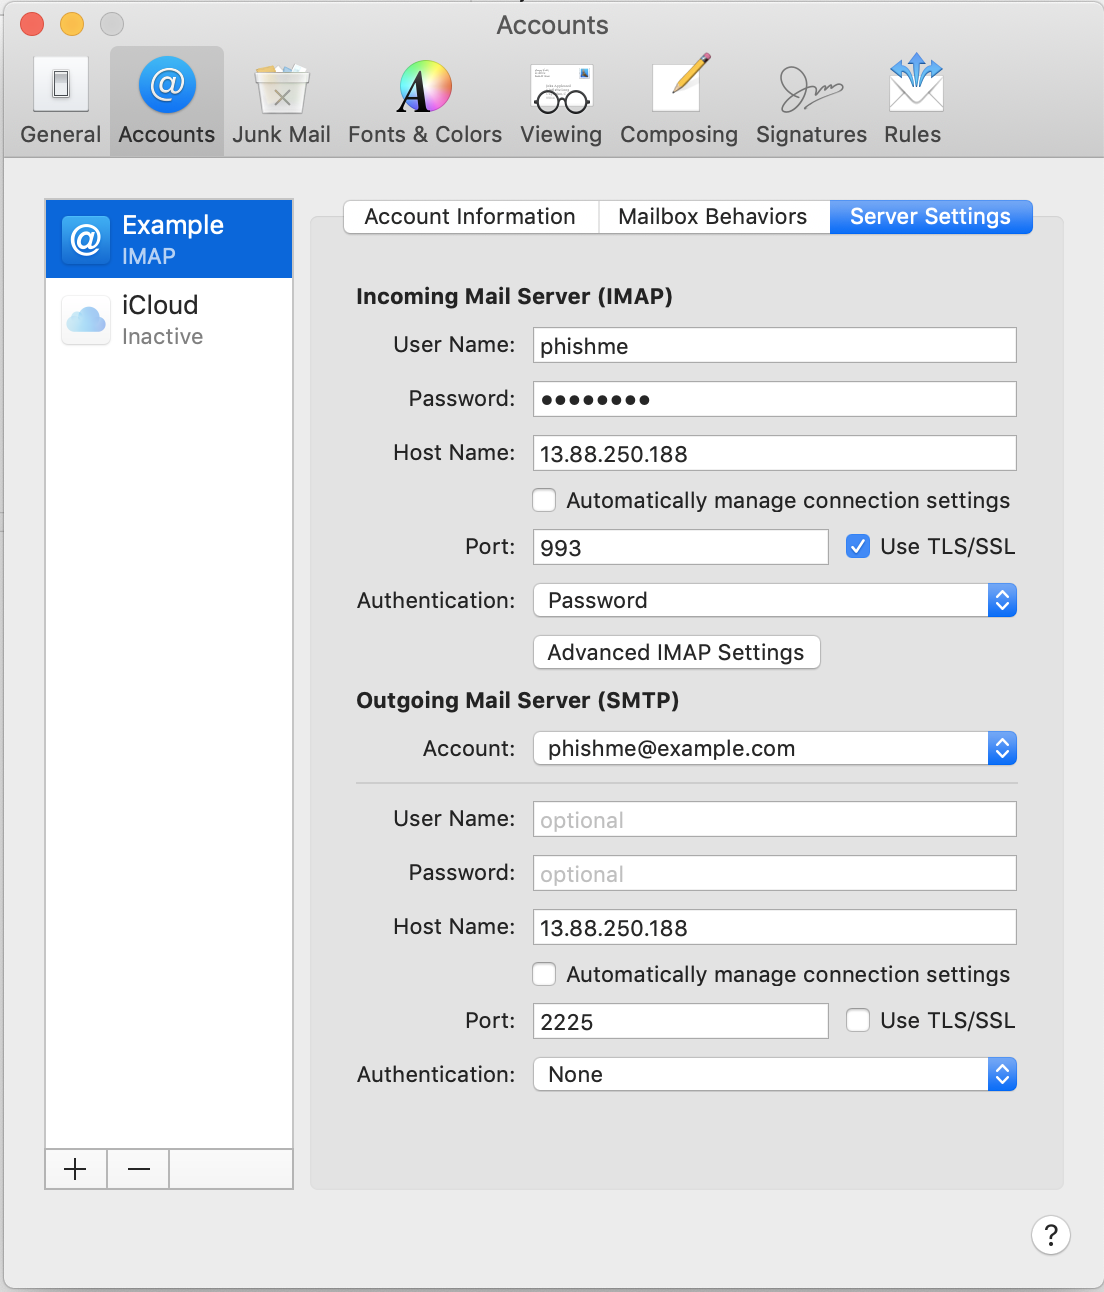 Mail Configured
Step 5 - Send a Malicious Email
You can either use the Social Engineering Toolkit, or for a quicker way you can also find the test file phishing-credential-harvest.txt in the freshdemo/smarthost repo. It is already configured to send an email to the phishme account. Feel free to edit the file and send the mail with;
sendmail -t < phishing-credential-harvest.txt
The harvester URL in the file is s.example.com. You can either change this to your IP/domain or edit the zone file for example.com on the freshdemo/mailanddns
Step 6 - View the Email
You should have the email in the configured client.
The arrows indicate;
- the link in the body of the email is obfuscated with regular text change your account password immediately
- when you mouse over the link the real address shows up in the status bar at the bottom, s.example.com.
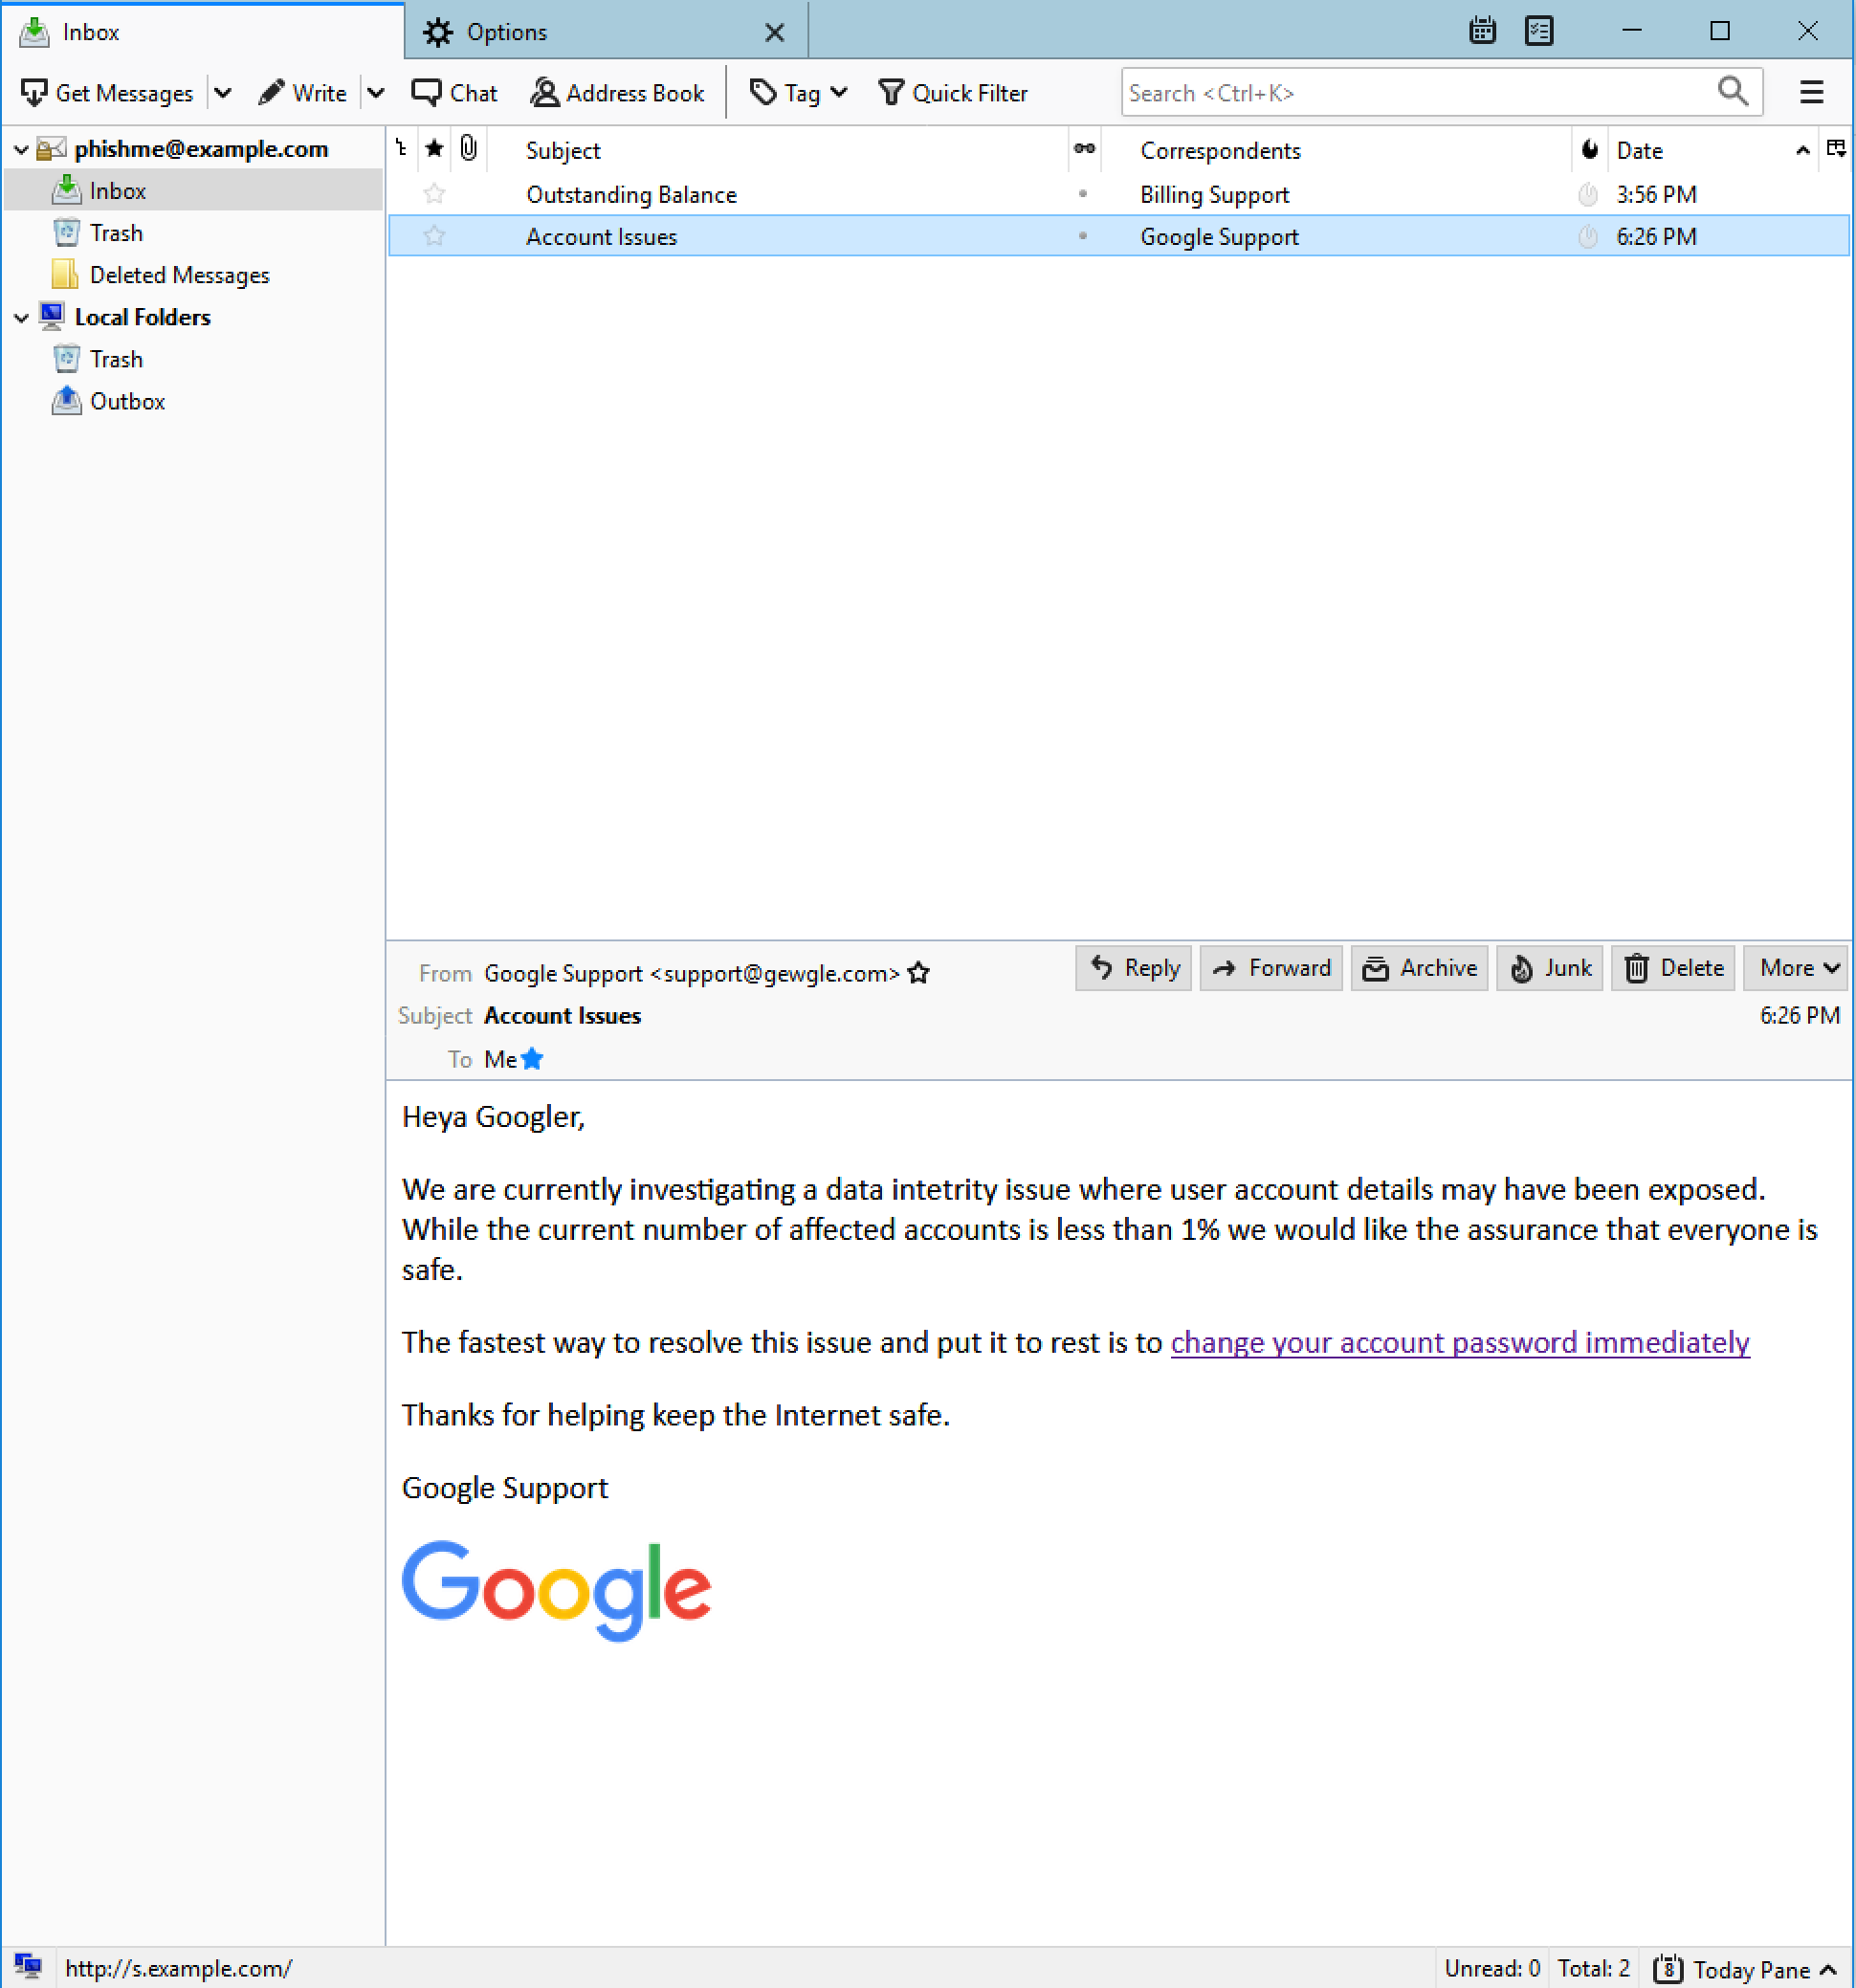 Spearphishing Link
Step 7 - Click the Link
When the link is clicked you are brought to the harvester page.
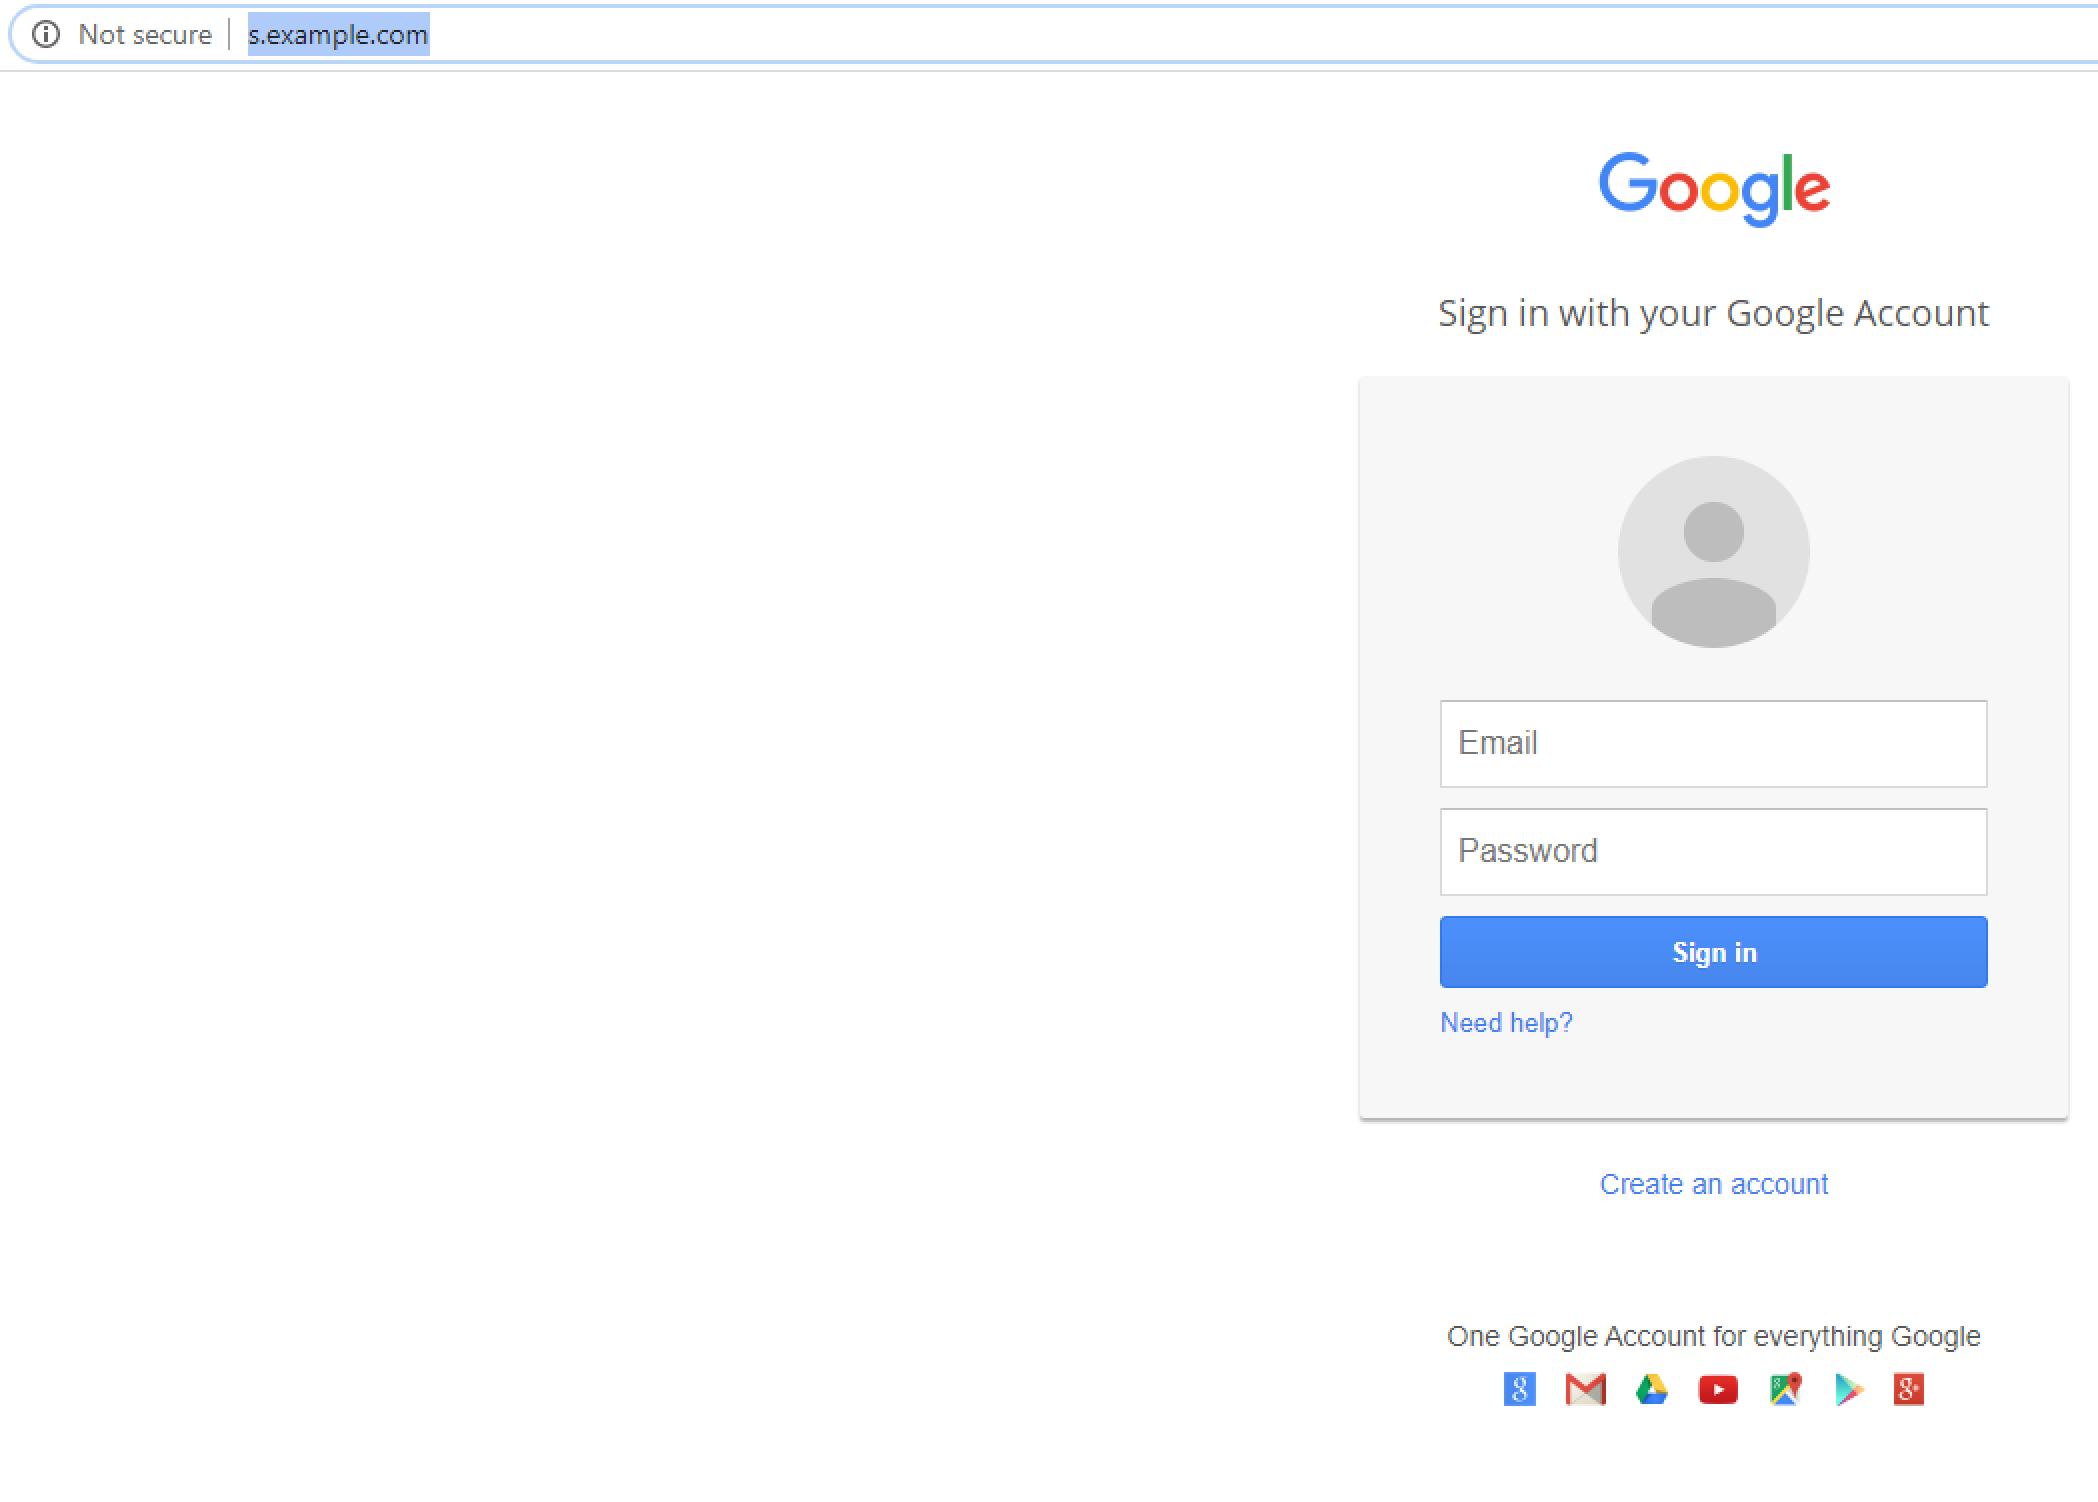
When you type your username and password the user gets redirected to google.com, and the credentials appear back in SET.
Re-testing this with Credential Theft Protection enabled prevented the HTTP POST. SET did not get the credentials and the user was redirected to this page.
